How to AirDrop photos and more
Apple AirDrop is a terrific method to wirelessly transfer and receive files from one Apple device to another. You may learn how to AirDrop photos, transfer various sorts of data from your Apple devices, and more with the help of this brief lesson. For Apple AirDrop to function properly, make sure the devices you are connecting are close to one another and that both Wi-Fi and Bluetooth are turned on. On your iPad or iPhone, make sure to turn off any personal hotspots you may be using.
You’ll be glad to know that the Apple AirDrop feature, which is a standard feature on all Apple devices, can be used to more easily send media and documents to friends or family members who also own an iPhone or iPad. Assuming that AirDrop is already enabled and that you haven’t made any changes to the settings on either iOS device, simply follow the steps below.
How to AirDrop photos
- Launch the Photos app on your iPhone or iPad.
- Select the images you wish to share with a relative, friend, or coworker.
- Select the “Share” button, which looks like a box with an upward-pointing arrow in it. Additionally, bear in mind that by swiping left or right, you can select a variety of images.
- Tap the AirDrop button when sharing options are shown on your iPhone or iOS device.
- Next, nearby contacts and other iOS devices that support receiving documents and photos via AirDrop will be visible on your iPhone or iPad. To upload your photos to another Apple device, simply select the recipient you want to send them to and then wait for the process to be finished.
You’ll see a pop-up window that gives you the choice of accepting or rejecting photographs that are being AirDropped to your iPhone or iPad. The images will display in the same application they were received from if you allow the transfer to complete. For example, any photos that are AirDropped will appear in the Photos app.
Similar to this, any website URLs sent from Safari to an iOS device will immediately open in Safari. It is crucial to note that if you are sending photos over AirDrop from one of your own devices to another of your own, such a laptop or tablet that you are signed into with your Apple ID, you won’t see a warning asking you to accept or deny. The technique will only carry out the transfer automatically.
AirDrop Settings
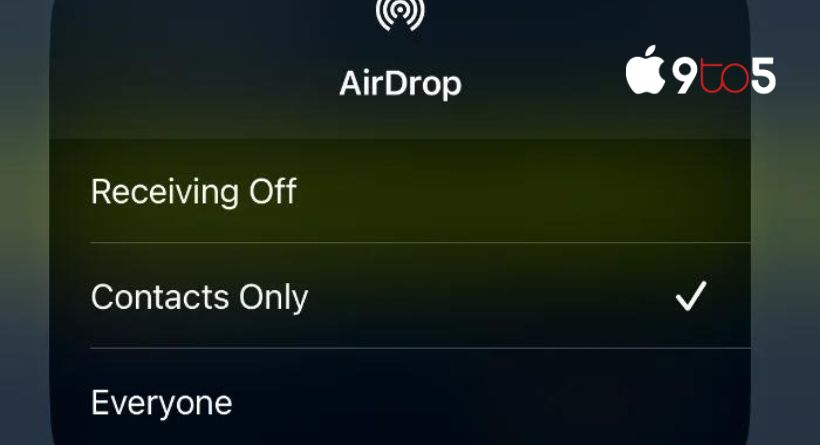
To make any required modifications to guarantee that you are able to send and receive files from contacts or anybody else, just open the Settings app on your iPhone or iPad, choose General, then the AirDrop option. Alternatively, you may just press the Wi-Fi button to open the wireless menu, then select AirDrop by sliding down from the iPhone’s top right corner to open the options window. Select the AirDrop setting, either Contacts Only, Everyone, or Receiving Off.
Troubleshooting Apple AirDrop
If you are trying to AirDrop photos or other media and are experiencing problems, make sure that you are:
- Ascertain that the two gadgets are close to one another.
- Check that Bluetooth and Wi-Fi are both turned on on both devices.
- Abandon utilising any personal hotspots that could have been installed on a device.
- Verify the settings on the recipient’s device once again.
- If they have AirDrop configured to receive from Contacts only, make sure that your Apple ID email address or mobile number is listed in their contacts.
- If they would rather not add you to their contacts, make sure they adjust their AirDrop option to receive from everyone.
- Any modifications may be easily undone by visiting the AirDrop receiving settings section on your iPhone or iPad.