How to format SD cards on Mac
Read on if you want to know how to format your camera’s SD card, set up storage for your Raspberry Pi micro PC operating system, or anything else comparable using your Apple Mac computer. If your Mac has an inbuilt SD card reader, you’ll be relieved to learn that format SD cards on MacOS operating system is pretty straightforward. How to format an SD card on a Mac desktop or laptop is covered in this brief tutorial.
The Secure Digital or SD non-volatile flash memory card format was developed primarily for portable devices by the SD Association (SDA). SD storage cards offer an affordable storage solution that can be used with a wide range of devices, including cameras and mini PCs, and are readily available in a wide range of different capacities.
Data, images, media, and documents can be stored and transmitted using SD cards. The Raspberry Pi and Arduino micro-controllers, among other devices, can now be easily installed with a variety of operating systems.
The SD card reader can read the compact storage cards via a hub or an additional USB connection. In order to make retrieving photos and videos from your cameras and formatting SD cards for use with other programmes even easier, Apple added SD card ports to their new lineup of MacBook Pro notebooks this year.
Format SD cards on Mac
You might need to format an SD card or micro SD card for a range of devices, such as your Mac’s smartphone, the Raspberry Pi mini-PC, an Arduino project, a digital camera, or a game console. Preparing a card for use on your Mac computer is really easy. There are a few options to be aware of when formatting an SD card for the first time on a Mac. Remember that when you format your SD card or micro SD card, all the data on them will be deleted, so make a backup of any information you might want to save before you format your SD card.
Correct format to choose
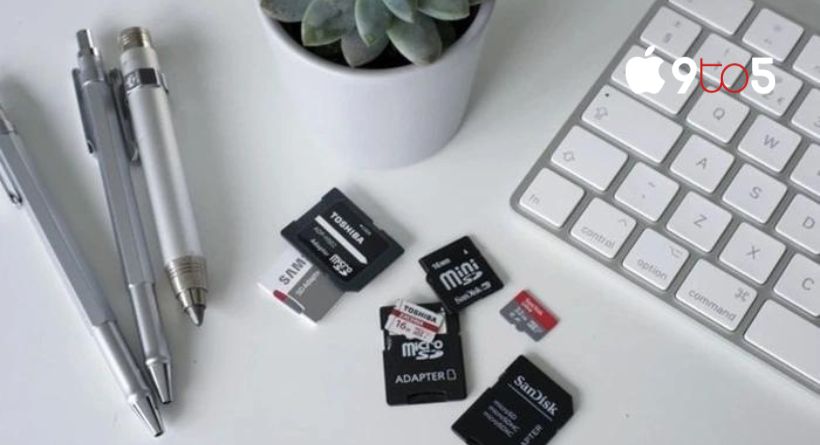
On our Mac computer, we’ll format our SD card using the “Disk Utility” programme that Apple offers with every Mac. Your iMac or older MacBook laptop may already come equipped with an SD card connector that allows you to easily read and write data to your card. If you possess a modern MacBook or MacBook Air without an SD card slot, you’ll need an SD card USB-C converter that plugs into a spare USB-C port. To format the smaller form factor microSD cards, you will also need an SD card sized adaptor, which you will slide the smaller microSD into as seen in the image below.
After inserting your card into your Mac computer, either directly or through an SD card adapter, as shown in the image above, press the Command and Space keys on your keyboard to launch “Spotlight search,” then type “Disk Utility” to find and launch the program.
Using Disk Utility
The Disk Utility program’s left side lists all of your drives. When formatting an SD card, be careful to choose the appropriate drive. You can quickly determine which drive disappears and reappears when your Mac reads the memory card by simply removing and replacing it. “Erase” will be listed at the bottom of the list of options that appear when you right-click on the SD card drive of your choice. For the Mac, we will format our SD card by selecting the “Erase” option.
On the Disk Utility program’s left side, you may view a list of your drives. Make careful you choose the correct drive while formatting an SD card. Simply uninstall it and reinstall it to immediately see which disc goes and reappears when your Mac reads the memory card. When you right-click on the SD card drive of your choosing, “Erase” will be presented at the bottom of the list of choices. Our SD card will be formatted on a Mac by selecting the “Erase” option.
When formatting a card on a Mac, there are four “Format” options available: MS-DOS (FAT), ExFAT, and MacOS Extended (Journaled, Case-sensitive). If you just want to utilise the SD card on devices running Apple’s macOS operating system, the OS Extended formats are your best bet. The only distinction between the two is the ‘Case-sensitive’ option, which takes capitalization into account. Accordingly, the case-sensitive option treats ABC and abc as two different names. They are regarded as being identical in the non-case-sensitive MacOS Extended (Journaled) format.
You will use the ExFAT option if your SD card has a capacity greater than 64 GB and you are formatting the SD card on a Mac system running a current operating system version of macOS: Apple Lion macOS and above. These instances include utilizing your SD card in a Windows computer, an Android phone, a Raspberry Pi tiny PC, or a digital camera. If your Mac is older and your SD card is smaller in size, choose the MS-DOS (FAT32) option.
SD card format instructions:
- Open the Disk Utility application on the Mac.
- Select the proper SD card drive
- Label the SD card.
- Select General Intent as the appropriate Format Type. ExFAT is only supported by Macs. X Extended OS (Journaled)
- Click the menu item labelled “Erase.”
- Watch for the SD card format on the Mac to be completed.
- Remove the freshly formatted SD card from the computer.